

We give you 6 tips to help you fix the Samsung touchscreen not working issue. Try them one by one.
Tip 1. Force Reboot your Samsung Phone
If you are facing an issue with the touchscreen not working Samsung then a force reboot is a sensible option. For this, you need to press the volume down key and the Power key for more than 20 seconds. This activity will make your device run smoother and faster with a proper response on the touchscreen.

Force Reboot your Samsung
Tip 2. Remove Memory Card & SIM Card
While performing multiple functions, Smartphone heats up and this hampers its performance. It also affects the touchscreen and makes it irresponsive. Removing your Memory card & SIM card can be a better way to resolve this issue.
Note: Always Unmount your SIM and Memory card before removing them. There can be chances that your data might get deleted.
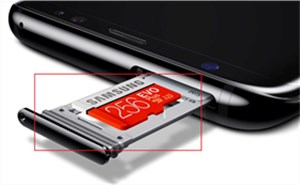
Remove Memory Card & SIM Card
Tip 3. Fix Samsung System Issue with One Click
If neither a force restart nor removal of a memory card can fix the Samsung touch screen not working issue, your Samsung device may face some system errors. It doesn’t matter if you don’t know what the problem is, you can turn to DroidKit – Android Phone Toolkit to repair your Samsung device. DroidKit fixes all the Android system issues you can imagine without data loss. Just connect your phone to the computer equipped with DroidKit, and it will scan all the possible system errors on your phone. After that, you just need to fix the issues by following the tutorial below.
DroidKit – Android Repair Tool
- Fix various Android OS issues and problems in minutes.
- Find the best solution for your Android device.
- No need to root your device and no technical skills are required.
- Revive dead Android devices in a few simple steps.
Free Download100% Clean & Safe
Free Download100% Clean & Safe
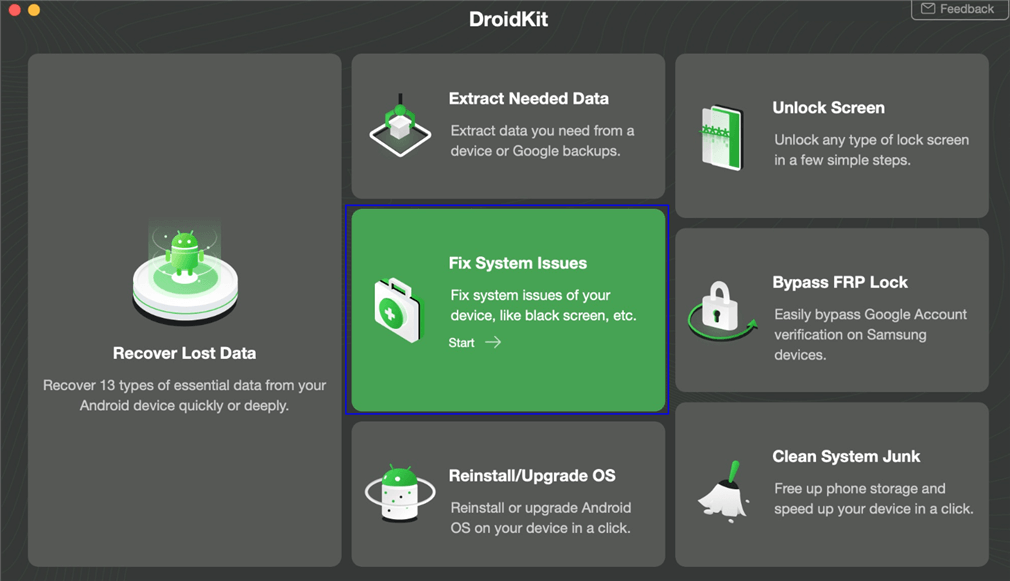
Step 1. Download and install DroidKit. On the home screen of DroidKit, you can see many functions > Choose Fix System Issues in the middle of the page.
Click Fix System Issues
Step 2. Read the notes on the screen > Connect your Samsung device to the computer > Click Start to proceed.
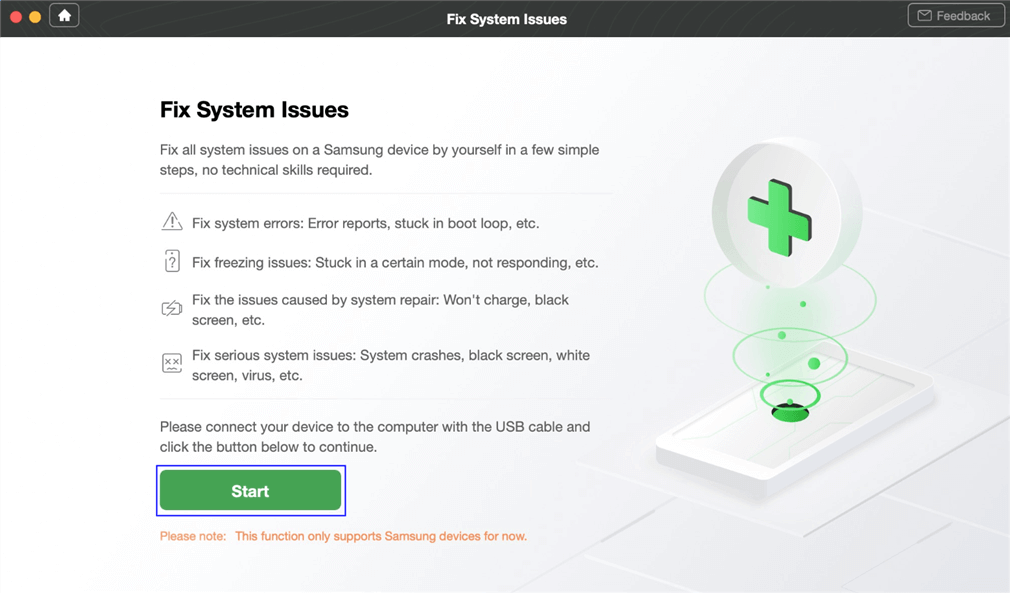
Click Start Button to Continue Fixing
Step 3. Automatically, the program will match the PDA code of your Samsung device > Click Download Now to acquire the firmware.

Start to Download Firmware Package
If there isn’t any PDA code, you need to get it by putting your Samsung device into recovery mode.
Step 4. After the firmware is downloaded, click Fix Now button and then put your device in download mode. Next, DroidKit will start repairing immediately. Wait for the successfully fixed page as below.
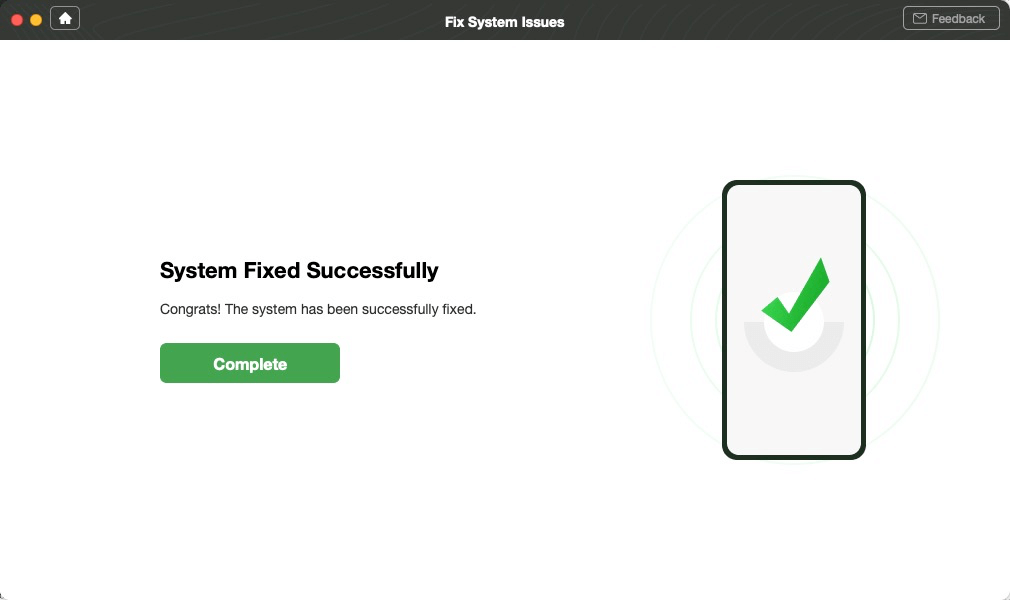
System Fixed Successfully
Video Tutorial on How to Fix Samsung Touch Screen not Working with DroidKit:
Tip 4. Boot the Device in Safe Mode
When the above methods do not perform what is required then, you can boot your Samsung device into safe mode. This procedure will help you in recognizing the problem as if the newly installed application is the reason behind this.
For this, you need to press the Power Button for a longer duration until you see Power Menu Option on the screen. Now, long press the Power Off button and the message will appear on the screen asking you for Reboot. After performing this of the device works properly then it is for sure that the last installed app creating the issue.
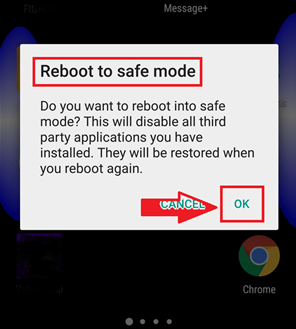
Boot the device in Safe Mode
Tip 5. Boot your Phone in Recovery Mode and Wipe Cache
If you are still facing the issue of Samsung touchscreen not working then simply try to boot your device in the Recovery Mode. Factory resetting will erase all your data and try to be in safe hand while performing this activity.
Note: This process will erase all your data and all you need is to create a backup and restore your device data safely.
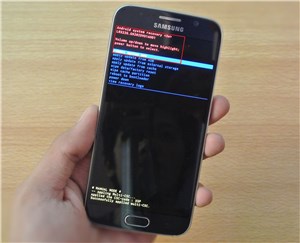
Boot your Phone in Recovery Mode
Tip 6. Backup your Data and Reset your Phone
Creating a backup before you reset your device is a sensible option for every user. Mostly while resetting the device all your data might get erased. For this, you can Sync your data with the Gmail Account. Recheck by logging on to your Gmail Account to confirm the backup. Now, smoothly perform the factory reset and make your Samsung Device to reboot. After this process, you can restore all your data from the Gmail account. Some third-party software also assists in creating a backup and restoring data. This process can assist you in the queries like touchscreen not working Samsung.
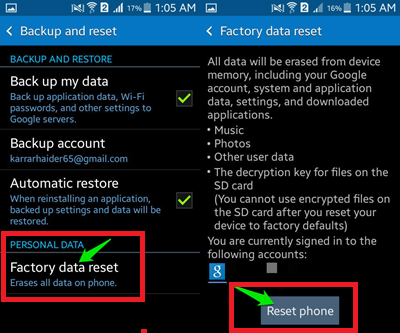
Backup your data and Reset your Phone
How to Backup Samsung Data with Simple Clicks
Users who are depressed with a problem like Samsung Touchscreen not working can try to overcome this issue effectively by resetting their Samsung device. But such processes are to be done carefully as this might erase all your data if you fail to make a backup. Using the Gmail account is a sensible option but there some cons to this process as well.
AnyDroid is a reliable third party software which works effectively to perform this activity. Data is vital no matter which Samsung device you are operating. Samsung owners have various methods to back up their data and AnyDroid is the best option to date. Being developed by iMobie, this software is now the leading choice, especially for Samsung users.
The reasons being:
- Allows you to back up your data on Samsung to the computer in just a few clicks.
- Its smart algorithm allows users to select the path and save the files anywhere.
- AnyDroid is highly compatible with all the Samsung Devices.
- While creating the backup there is no data loss or damage.